312 lines
12 KiB
Markdown
312 lines
12 KiB
Markdown
<div align="center">
|
|
|
|
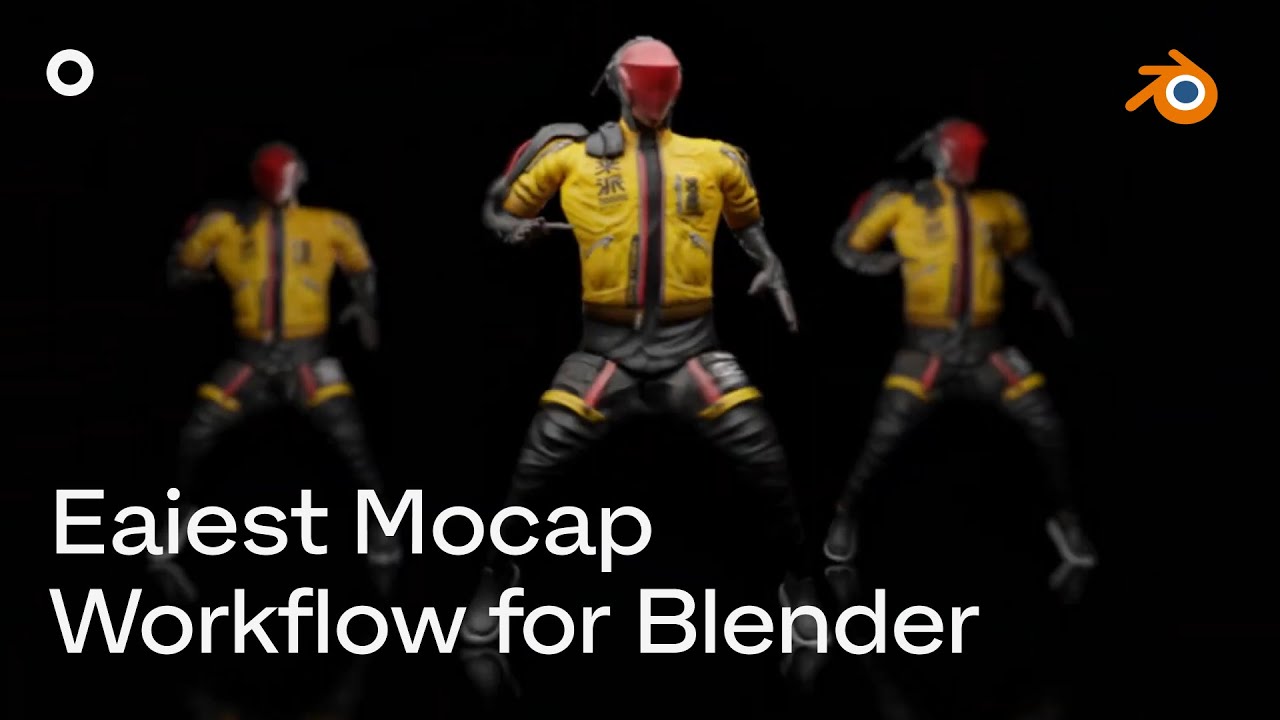
# Rokoko Studio Live Plugin for Blender
|
|
|
|
[](https://www.blender.org/)
|
|
[](https://www.rokoko.com/en/products/studio)
|
|
[](LICENSE)
|
|
|
|
**Stream motion capture data from Rokoko Studio directly into Blender in real-time**
|
|
|
|
[📥 Download Latest](https://github.com/Rokoko/rokoko-studio-live-blender/archive/refs/heads/master.zip) •
|
|
[📖 Documentation](https://support.rokoko.com/hc/en-us/categories/4410420388113-Rokoko-Plugins) •
|
|
[💬 Support](https://support.rokoko.com/)
|
|
|
|
</div>
|
|
|
|
---
|
|
|
|
## 🎯 Overview
|
|
|
|
[Rokoko Studio](https://www.rokoko.com/en/products/studio) is a powerful and intuitive software for recording, visualizing and exporting motion capture data. This official Blender plugin enables seamless real-time streaming of animation data from Rokoko Studio directly into Blender.
|
|
|
|
**Key Benefits:**
|
|
- 🎭 **Real-time streaming** of motion capture data
|
|
- 🎮 **Remote control** of Rokoko Studio from Blender
|
|
- 🔄 **Easy retargeting** between different character rigs
|
|
- 👥 **Multi-actor support** for complex scenes
|
|
|
|
## 📖 Table of Contents
|
|
|
|
- [🎯 Overview](#-overview)
|
|
- [✨ Features](#-features)
|
|
- [📋 Requirements](#-requirements)
|
|
- [📦 Installation](#-installation)
|
|
- [🎬 Getting Started for Streaming](#-getting-started-for-streaming)
|
|
- [1. Prepare Your Model](#1-prepare-your-model)
|
|
- [2. Enable Rokoko Studio Live](#2-enable-rokoko-studio-live)
|
|
- [3. Receive Data in Blender](#3-receive-data-in-blender)
|
|
- [4. Stream Character Data](#4-stream-character-data)
|
|
- [5. Stream Face and Prop Data](#5-stream-face-and-prop-data)
|
|
- [🎯 Retargeting](#-retargeting)
|
|
- [💡 Tips & Troubleshooting](#-tips--troubleshooting)
|
|
- [🤝 Contributing](#-contributing)
|
|
- [📞 Support](#-support)
|
|
|
|
---
|
|
|
|
## ✨ Features
|
|
|
|
### 🎭 Live Data Streaming
|
|
- **Full body tracking**: Complete skeletal animation data
|
|
- **Facial animation**: 52 blendshapes for detailed facial expressions
|
|
- **Finger tracking**: Precise hand and finger movements with SmartGloves
|
|
- **Multi-actor support**: Up to 5 actors simultaneously
|
|
- **Camera data**: Live camera tracking information
|
|
- **Props tracking**: Real-time prop animation
|
|
|
|
### 🎮 Studio Integration
|
|
- **Remote control**: Control Rokoko Studio directly from Blender
|
|
- **Real-time preview**: See your animations as they're captured
|
|
- **Seamless workflow**: No need to switch between applications
|
|
|
|
### 🔄 Animation Tools
|
|
- **Smart retargeting**: Easily retarget animations between different rigs
|
|
- **Auto-detection**: Automatic bone mapping for faster setup
|
|
|
|
## 📋 Requirements
|
|
|
|
| Component | Version | Notes |
|
|
|-------------------------|------------------------------|-----------------------------------|
|
|
| **Blender** | 2.80 or higher | Required for plugin compatibility |
|
|
| **Rokoko Studio** | 2.4.8 or higher | For livestreaming functionality |
|
|
| **Internet Connection** | Required during installation | To download required libraries |
|
|
|
|
## 📦 Installation
|
|
|
|
### Step 1: Download
|
|
**[📥 Download the latest version here](https://github.com/Rokoko/rokoko-studio-live-blender/archive/refs/heads/master.zip)**
|
|
|
|
### Step 2: Install in Blender
|
|
1. Open Blender
|
|
2. Navigate to `Edit > Preferences > Addons`
|
|
3. Click `Install...`
|
|
4. Select the downloaded ZIP file
|
|
5. Enable the "Rokoko Studio Live" addon
|
|
|
|
> ⚠️ **Note**: First-time installation may take several minutes as required libraries are downloaded.
|
|
|
|
### Step 3: Access the Plugin
|
|
- In the 3D viewport, press `N` to open the sidebar
|
|
- Select the **"Rokoko"** tab to access all plugin features
|
|
|
|
## 🎬 Getting Started for Streaming
|
|
|
|
### 1. Prepare Your Model
|
|
|
|
#### Character Setup
|
|
Your character in Blender must be in **T-pose** for proper retargeting:
|
|
|
|
<div align="center">
|
|
<img src="https://i.imgur.com/p4uVZBx.png" height="450" alt="Character in T-pose"/>
|
|
</div>
|
|
|
|
#### SmartGloves Setup
|
|
For optimal finger animation retargeting, ensure your character's hands match this pose:
|
|
- All fingers should be straight
|
|
- Thumb rotated 45 degrees away from other fingers
|
|
|
|
<div align="center">
|
|
<img src="https://i.imgur.com/9I13bHI.png" alt="Hand pose for SmartGloves"/>
|
|
</div>
|
|
|
|
### 2. Enable Rokoko Studio Live
|
|
|
|
1. Open **Rokoko Studio** and open a project
|
|
2. On the right side, go to **Streaming**
|
|
3. In the Blender row, press the **wrench icon** to open settings
|
|
4. Enable **Include Connection**
|
|
- (optional) Customize Forward IP and Port
|
|
5. **Activate** the data stream to Blender
|
|
|
|
<div align="center">
|
|
<p float="left">
|
|
<img src="https://i.imgur.com/mkVr39B.gif" height="400" alt="Studio Live settings"/>
|
|
</p>
|
|
</div>
|
|
|
|
### 3. Receive Data in Blender
|
|
|
|
1. In the **3D viewport**, press `N` to open the sidebar
|
|
2. Select the **"Rokoko"** tab
|
|
3. Click **"Start Receiver"** to begin receiving data from Rokoko Studio
|
|
|
|
<div align="center">
|
|
<p float="left">
|
|
<img src="https://s3.amazonaws.com/cdn.freshdesk.com/data/helpdesk/attachments/production/47010394035/original/F9BVdJ-P3GjPAqGsOno-it18A0lvyF3n3A.png" height="300" alt="Open sidebar"/>
|
|
<img src="https://s3.amazonaws.com/cdn.freshdesk.com/data/helpdesk/attachments/production/47010394045/original/1E4Pt708FhhoGngovjP7V3CYVaNgNG_J_w.png" height="300" alt="Rokoko tab"/>
|
|
<img src="https://s3.amazonaws.com/cdn.freshdesk.com/data/helpdesk/attachments/production/47010394056/original/Um5r_amKNoEJaF8vjF1JgQwVyjztGDtJ5w.png" height="300" alt="Start receiver"/>
|
|
</p>
|
|
</div>
|
|
|
|
### 4. Stream Character Data
|
|
|
|
1. **Select the armature** you want to animate
|
|
2. Go to **Object Properties** → **"Rokoko Studio Live Setup"** panel
|
|
3. In the **Actor field**, select the Smartsuit for this armature
|
|
4. Click **"Auto Detect"** to fill bone fields automatically
|
|
5. Verify all bones are correctly mapped (fill missing bones manually if needed)
|
|
6. Ensure the armature is in **T-Pose**, then click **"Set as T-Pose"**
|
|
|
|
<div align="center">
|
|
<img src="https://i.imgur.com/ydn6cAi.gif" alt="Character setup process"/>
|
|
</div>
|
|
|
|
7. **Done!** Your armature should now be animated by live data:
|
|
|
|
<div align="center">
|
|
<img src="https://s3.amazonaws.com/cdn.freshdesk.com/data/helpdesk/attachments/production/47011948259/original/JDKx_BMV2iDNhqyEk1nsNqsm8zQt2YbT5g.gif" height="400" alt="Live animation"/>
|
|
</div>
|
|
|
|
#### Performance Tips
|
|
|
|
💡 **Optimize performance** by enabling "Hide Meshes during Play" in the receiver panel:
|
|
|
|
<div align="center">
|
|
<img src="https://i.imgur.com/HESveWD.png" alt="Hide meshes option"/>
|
|
</div>
|
|
|
|
⚠️ **Reduce lag** by closing keyframe windows (timeline, action editor) as they can consume significant resources in earlier Blender versions.
|
|
|
|
### 5. Stream Face and Prop Data
|
|
|
|
Face and prop data follow the same workflow as character data:
|
|
|
|
1. **For face data**: Select the face mesh
|
|
2. **For prop data**: Select the prop object
|
|
3. Follow the same setup steps as character data above
|
|
4. **Done!** Your face mesh or prop will be animated by live data
|
|
|
|
<div align="center">
|
|
<p float="left">
|
|
<img src="https://s3.amazonaws.com/cdn.freshdesk.com/data/helpdesk/attachments/production/47011946440/original/-2ES8ffaPb-jANEBaZWpLzvoy6gDB_FPXQ.gif" height="350" alt="Face animation"/>
|
|
<img src="https://s3.amazonaws.com/cdn.freshdesk.com/data/helpdesk/attachments/production/47011950531/original/LB3AZ4q5IIPOX-WF1mYuuRqeNsWsGY_hgw.gif" height="350" alt="Prop animation"/>
|
|
</p>
|
|
</div>
|
|
|
|
#### Custom Scaling for Props
|
|
|
|
💡 **For prop data**: Enable "Use Custom Scale" to adjust animation scale for your Blender project:
|
|
|
|
<div align="center">
|
|
<img src="https://s3.amazonaws.com/cdn.freshdesk.com/data/helpdesk/attachments/production/47011950790/original/vpwUqdfTZJcBryvKjJmUfV0BXKT3kX__eQ.PNG" alt="Custom scale option"/>
|
|
</div>
|
|
|
|
---
|
|
|
|
## 🎯 Retargeting
|
|
|
|
Easily retarget animations between different character rigs using the built-in retargeting system.
|
|
|
|
### Step-by-Step Process
|
|
|
|
1. **Open the Retargeting panel** in the Rokoko tab
|
|
|
|
<div align="center">
|
|
<img src="https://s3.amazonaws.com/cdn.freshdesk.com/data/helpdesk/attachments/production/47029758599/original/gt30hHJ2JCfKDmmALDxjffiHbYjqFMQFmg.png" alt="Retargeting panel"/>
|
|
</div>
|
|
|
|
2. **Set up source and target armatures**:
|
|
- **Source armature**: Select the armature with existing animation
|
|
- **Target armature**: Select the armature that should receive the animation
|
|
- Click **"Build Bone List"**
|
|
|
|
<div align="center">
|
|
<img src="https://s3.amazonaws.com/cdn.freshdesk.com/data/helpdesk/attachments/production/47029758649/original/AuSYaHVCMTAQmTYRX8JHohflx4B6tu7EVQ.png" alt="Build bone list"/>
|
|
</div>
|
|
|
|
3. **Verify bone mapping**: Check that bones are correctly mapped and fix any missing or incorrect mappings
|
|
|
|
<div align="center">
|
|
<img src="https://s3.amazonaws.com/cdn.freshdesk.com/data/helpdesk/attachments/production/47029758669/original/O_kTjk6qEKnNr_jOmvMXa2OI5d561ttBqA.png" alt="Bone mapping"/>
|
|
</div>
|
|
|
|
4. **Configure retargeting options**:
|
|
- Enable **"Auto Scale"** if armatures differ in size (or adjust manually)
|
|
- Select the appropriate pose in **"Use Pose"**
|
|
- ⚠️ **Important**: Ensure both armatures are in the same pose for accurate retargeting
|
|
|
|
5. **Execute retargeting**: Click **"Retarget Animation"**
|
|
|
|
6. **Done!** Your animation is now retargeted to the new armature
|
|
|
|
### 📺 Video Tutorial
|
|
|
|
<div align="center">
|
|
|
|
[](https://youtu.be/Od8Ecr70A4Q)
|
|
|
|
*Click to watch the complete retargeting tutorial*
|
|
|
|
</div>
|
|
---
|
|
|
|
## 💡 Tips & Troubleshooting
|
|
|
|
### Performance Optimization
|
|
- **Hide meshes during playback**: Enable "Hide Meshes during Play" for better performance
|
|
- **Close keyframe panels**: Timeline and Action Editor consume significant resources
|
|
- **Reduce viewport complexity**: Hide unnecessary objects during streaming
|
|
|
|
### Common Issues
|
|
|
|
#### Connection Problems
|
|
- **Check network settings**: Ensure Rokoko Studio and Blender are on the same network
|
|
- **Verify port settings**: Default port is 14043, ensure it's not blocked by firewall
|
|
- **Restart both applications**: Sometimes a fresh start resolves connection issues
|
|
|
|
#### Animation Issues
|
|
- **T-pose requirement**: Always ensure your character is in T-pose before setup
|
|
- **Bone mapping**: Verify all bones are correctly mapped using "Auto Detect"
|
|
- **Scale differences**: Use "Auto Scale" for characters of different sizes
|
|
|
|
#### Performance Issues
|
|
- **System requirements**: Ensure your system meets minimum requirements
|
|
- **Background processes**: Close unnecessary applications during streaming
|
|
- **Blender settings**: Reduce viewport samples and disable unnecessary addons
|
|
|
|
---
|
|
|
|
## 🤝 Contributing
|
|
|
|
We welcome contributions to improve the Rokoko Studio Live Plugin! Here's how you can help:
|
|
|
|
### Reporting Issues
|
|
- Use the [GitHub Issues](https://github.com/Rokoko/rokoko-studio-live-blender/issues) page
|
|
- Provide detailed information about your setup and the issue
|
|
- Include steps to reproduce the problem
|
|
|
|
### Feature Requests
|
|
- Submit feature requests through GitHub Issues
|
|
- Describe the use case and expected behavior
|
|
- Check existing issues to avoid duplicates
|
|
|
|
### Development
|
|
- Fork the repository
|
|
- Create a feature branch
|
|
- Submit a pull request with detailed description
|
|
|
|
---
|
|
|
|
## 📞 Support
|
|
|
|
### Official Support Channels
|
|
- **📖 Documentation**: [docs.rokoko.com](https://support.rokoko.com/hc/en-us/categories/4410420388113-Rokoko-Plugins)
|
|
- **💬 Support Portal**: [support.rokoko.com](https://support.rokoko.com/)
|
|
- **🐛 Bug Reports**: [GitHub Issues](https://github.com/Rokoko/rokoko-studio-live-blender/issues)
|
|
|
|
### Community
|
|
- **Discord**: Join our [Discord community](https://discord.com/invite/AfCJBBQqRm)
|
|
- **YouTube**: [Rokoko YouTube Channel](https://www.youtube.com/@RokokoMotion) for tutorials
|
|
- **Social Media**: Follow [@rokoko](https://x.com/hellorokoko) for updates
|
|
|
|
---
|
|
|
|
<div align="center">
|
|
|
|
**Made with ❤️ by [Rokoko](https://www.rokoko.com/)**
|
|
|
|
*Bringing motion capture to everyone*
|
|
|
|
</div>
|